Posting my latest mixed media project made with mitFORM Medal Decorations. MitFORM Metal Decorations that can be used for decoupage, scrapbooking, mixed media and more! These products are a perfect fit for my mixed media and altered art projects.
Check out the Quick Tip Mixed Media Video below for the step by steps.
I am so excited to introduce you to MitFORM and their Metal Decorations that can be used for decoupage, scrapbooking, mixed media and more! These products are a perfect fit for my mixed media and altered art projects. Check out the Altered Yard Domino Steampunk piece shown below. Adding the MitFORM elements fit nicely with my other collection of upcycled and found objects. Check out the Quick Tip Mixed Media Video below for the step by steps.
I hope you will check out MitFORM and their nice variety of products. As for me, I’m off to design a whole new art piece using these awesome metal decorations.
Happy day,
L
A Company(s) that I am affiliated with or Design for may have provided me with product to create this project. The opinions I share are solely my own.
I’m over on the Artesprix blog with a new Sublimation project using Artesprix Iron On Inks and Inkpads.
What is Sublimation ink (iron on ink/paint)? It is an interesting and fun product that allows you to create a design on standard copy paper that can then be heat transferred onto sublimation ready surfaces. The whole process is really magical!
We are now thoroughly into fall in my neck of the woods and I thought a “Happy Fall” Decorative Sign would be the perfect addition to my fall decorations. And can I just say…I love this sublimation ready Decorative Sign by Artesprix. I think I will be making a sublimation Decorative Sign for each and every holiday!
Other Products: Computer Paper Heat Press Lori’s Cards and Creations Stamp set – Winter/Fall Swirls, Happy Fall.
Quick Tips Mixed Media Video
I hope you enjoyed this project and will give Artesprix Sublimation Iron on Inks and Paints a try as well as this sublimation ready Decorative Sign. It is only available in the Artesprix Shop for the Month of November 2022 so be sure to get one soon if you want to try it!. These products are truly great to work with and offer so many creative options!
Happy Day! Lori
A Company(s) that I am affiliated with or Design for may have provided me with product to create this project. The opinions I share are solely my own.
Love to upcycle? Create this cute Halloween Lantern with Computer Grafix Ink Jet Film and a few upcycled items. Computer Grafix Ink Jet Film is a very versatile product that is easy to work with and produces great results. This product can be used with an inkjet or laser jet printer and produces a design that is quick drying and non-smearing.
Check out the step by step instructions and the Quick Tips Mixed Media Video below for all of the details.
I hope you have enjoyed this Computer Grafix Inkjet Film project and will try this fun and easy to use product pit yourself. The project options are really endless with this product!
Happy Day,
Lori Warren
A Company(s) that I am affiliated with or Design for may have provided me with product to create this project. The opinions I share are solely my own.
I am a Guest Designing again over on the Artesprix blog with a Wine Bag project using Artesprix Iron On Ink and Paint.
This project will walk you through how to layer with Sublimation Ink, Paint and Markers to create a final image full dimension, texture and interest. Be sure to check out the Quick Tips Mixed Media Video below for the step by steps.
I hope you enjoyed this project and will give Artesprix Sublimation products a try. These products are truly great to work with and offer so many creative options!
Happy Day!
Lori
A Company(s) that I am affiliated with or Design for may have provided me with product to create this project. The opinions I share are solely my own.
I am testing out the prototype of my new Sublimation Stamped Words set and created this fun Tumbler and Coaster. The Sublimation Word set (that I hope to have in production soon) is a set of my favorite phrases and words from the Be You and Winter stamp lines. I loved that I was able to stamp these faves’ directly onto my sublimation project without having to do any fancy dancing to get the image reversed. Awesome!
If you would like to create this project you can still use the Dragonfly and words from the Be You set, you will just need to use your typical method of reversing the word images for the sublimation transfer.
There has been a change in where you can fine my “Be You” stamp line that is being produced and distributed by Emerald Creek Craft Supplies. It is no longer directly available from the Emerald Creek website and will soon be sold by specific retailers. So, keep post for more information.
I hope you have enjoyed this project! If you are interested in any of these products, it would be super helpful (and much appreciated) if you would use the affiliate links within this blog to be directed to the suppliers. Just click on any of the product to be redirected.
Hope you all have a great week!
Happy day!
L
COMPANIES THAT I AM AFFILIATED WITH AND/OR DESIGN FOR MAY HAVE PROVIDED ME WITH SOME PRODUCT TO CREATE THIS PROJECT. THE OPINIONS I SHARE ARE SOLELY MY OWN.
This project idea was inspired by a Youtube video by Caroline, “My Home of the Hillside”. In her video, Caroline created 3 Shabby Chic projects featuring Rosette Roses hand-made from strips of scrap fabric. Well, I just had to try making these beautiful trash to treasure roses! And with that, came my Shabby Chic framed Dragonfly project. This creation features an upcycled old frame and other reuse and repurposed materials.
I hope you enjoyed this project and will check out Caroline’s video and Youtube page! The Rosette Roses are really fun to make and are a great way to use up old fabric scraps. Tune in for more project using upcycled, reuse, and repurposed elements.
Happy day,
L
A Company(s) that I am affiliated with or Design for may have provided me with product to create this project. The opinions I share are solely my own.
I love the holiday season and all of the crafty projects that I like to immerse myself in. I start in October and run crazy through December 25th. After that, though, I am ready to move on. The jingle bells and glitter are put away for another year and I break out my mixed media stash.
As a warm up to bigger and better mixed media projects, I created this 6″x8″ mixed media art piece on a flat panel canvas. I didn’t really have a solid direction, was just enjoying the whole process. Hence, the title for the piece below is “No Direction”.
A little collage, a little assemblage, a little steampunk and lots of paint. Yes, it is a familiar and happy place! Now I need to start thinking about what I am going to create for the Utah Arts Festival, Unmasked event!
Hope you all had a wonderful holiday season! Now lets move our craftsy selves onto the next project!
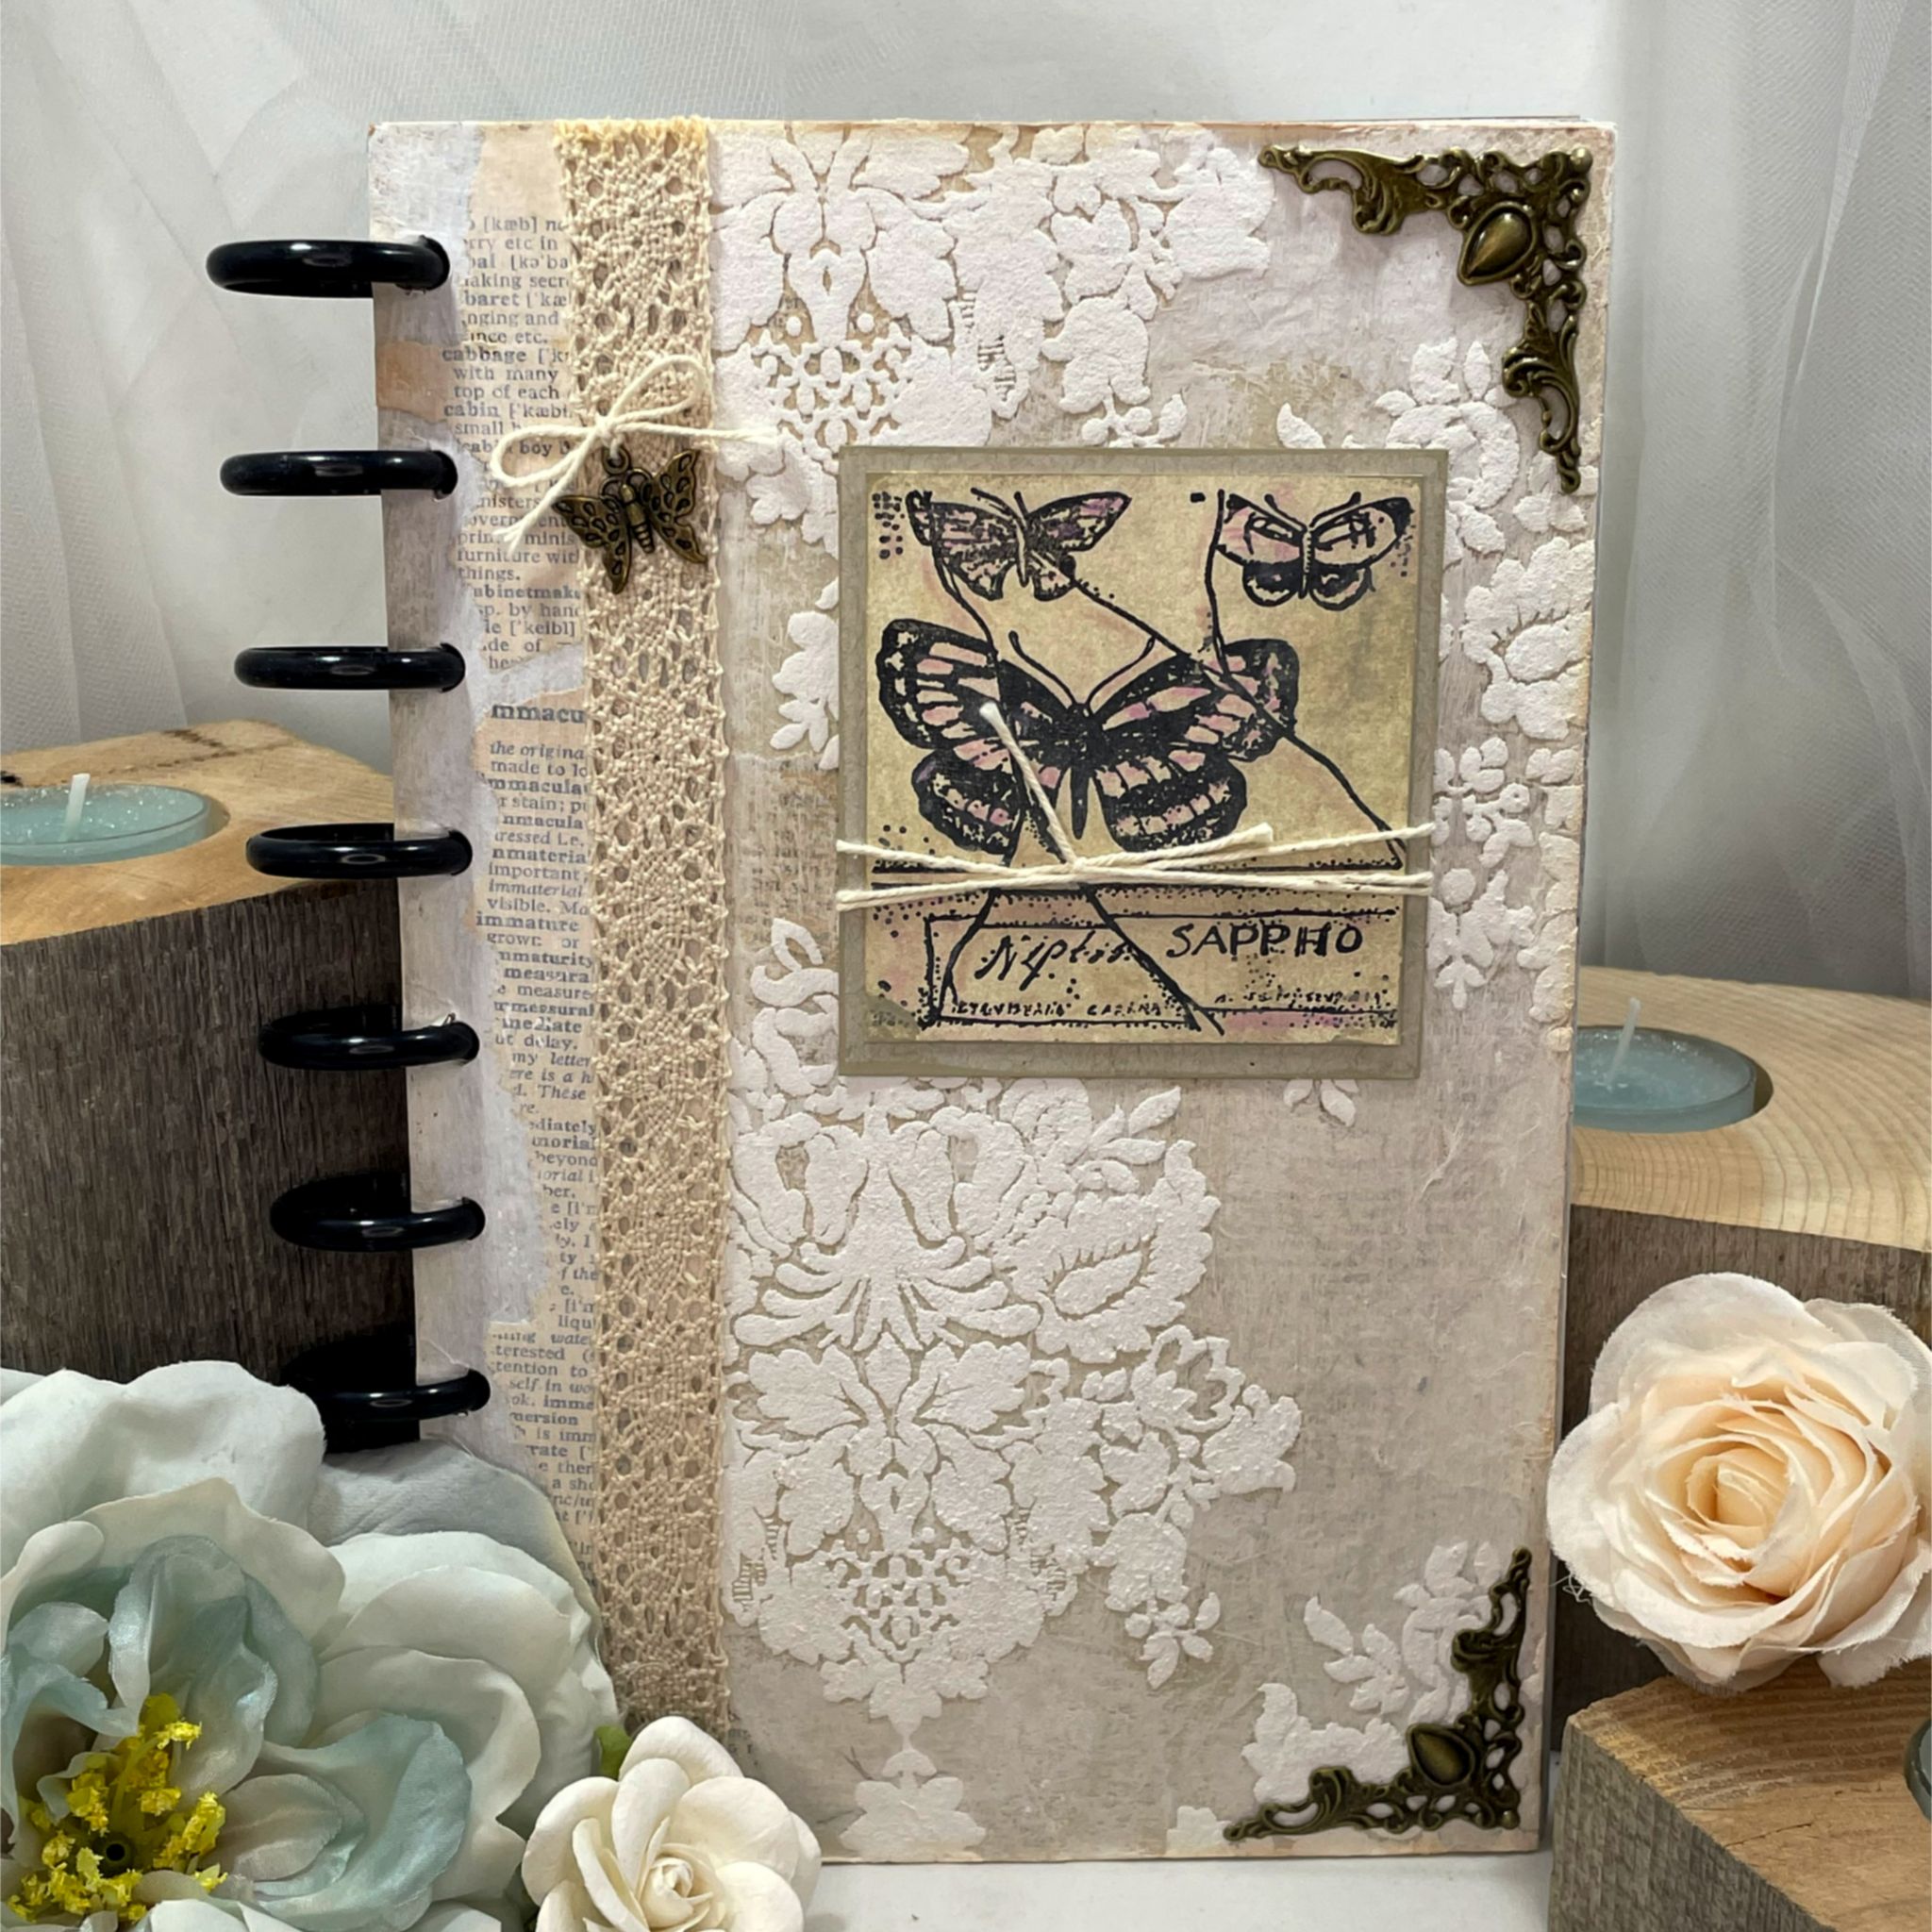
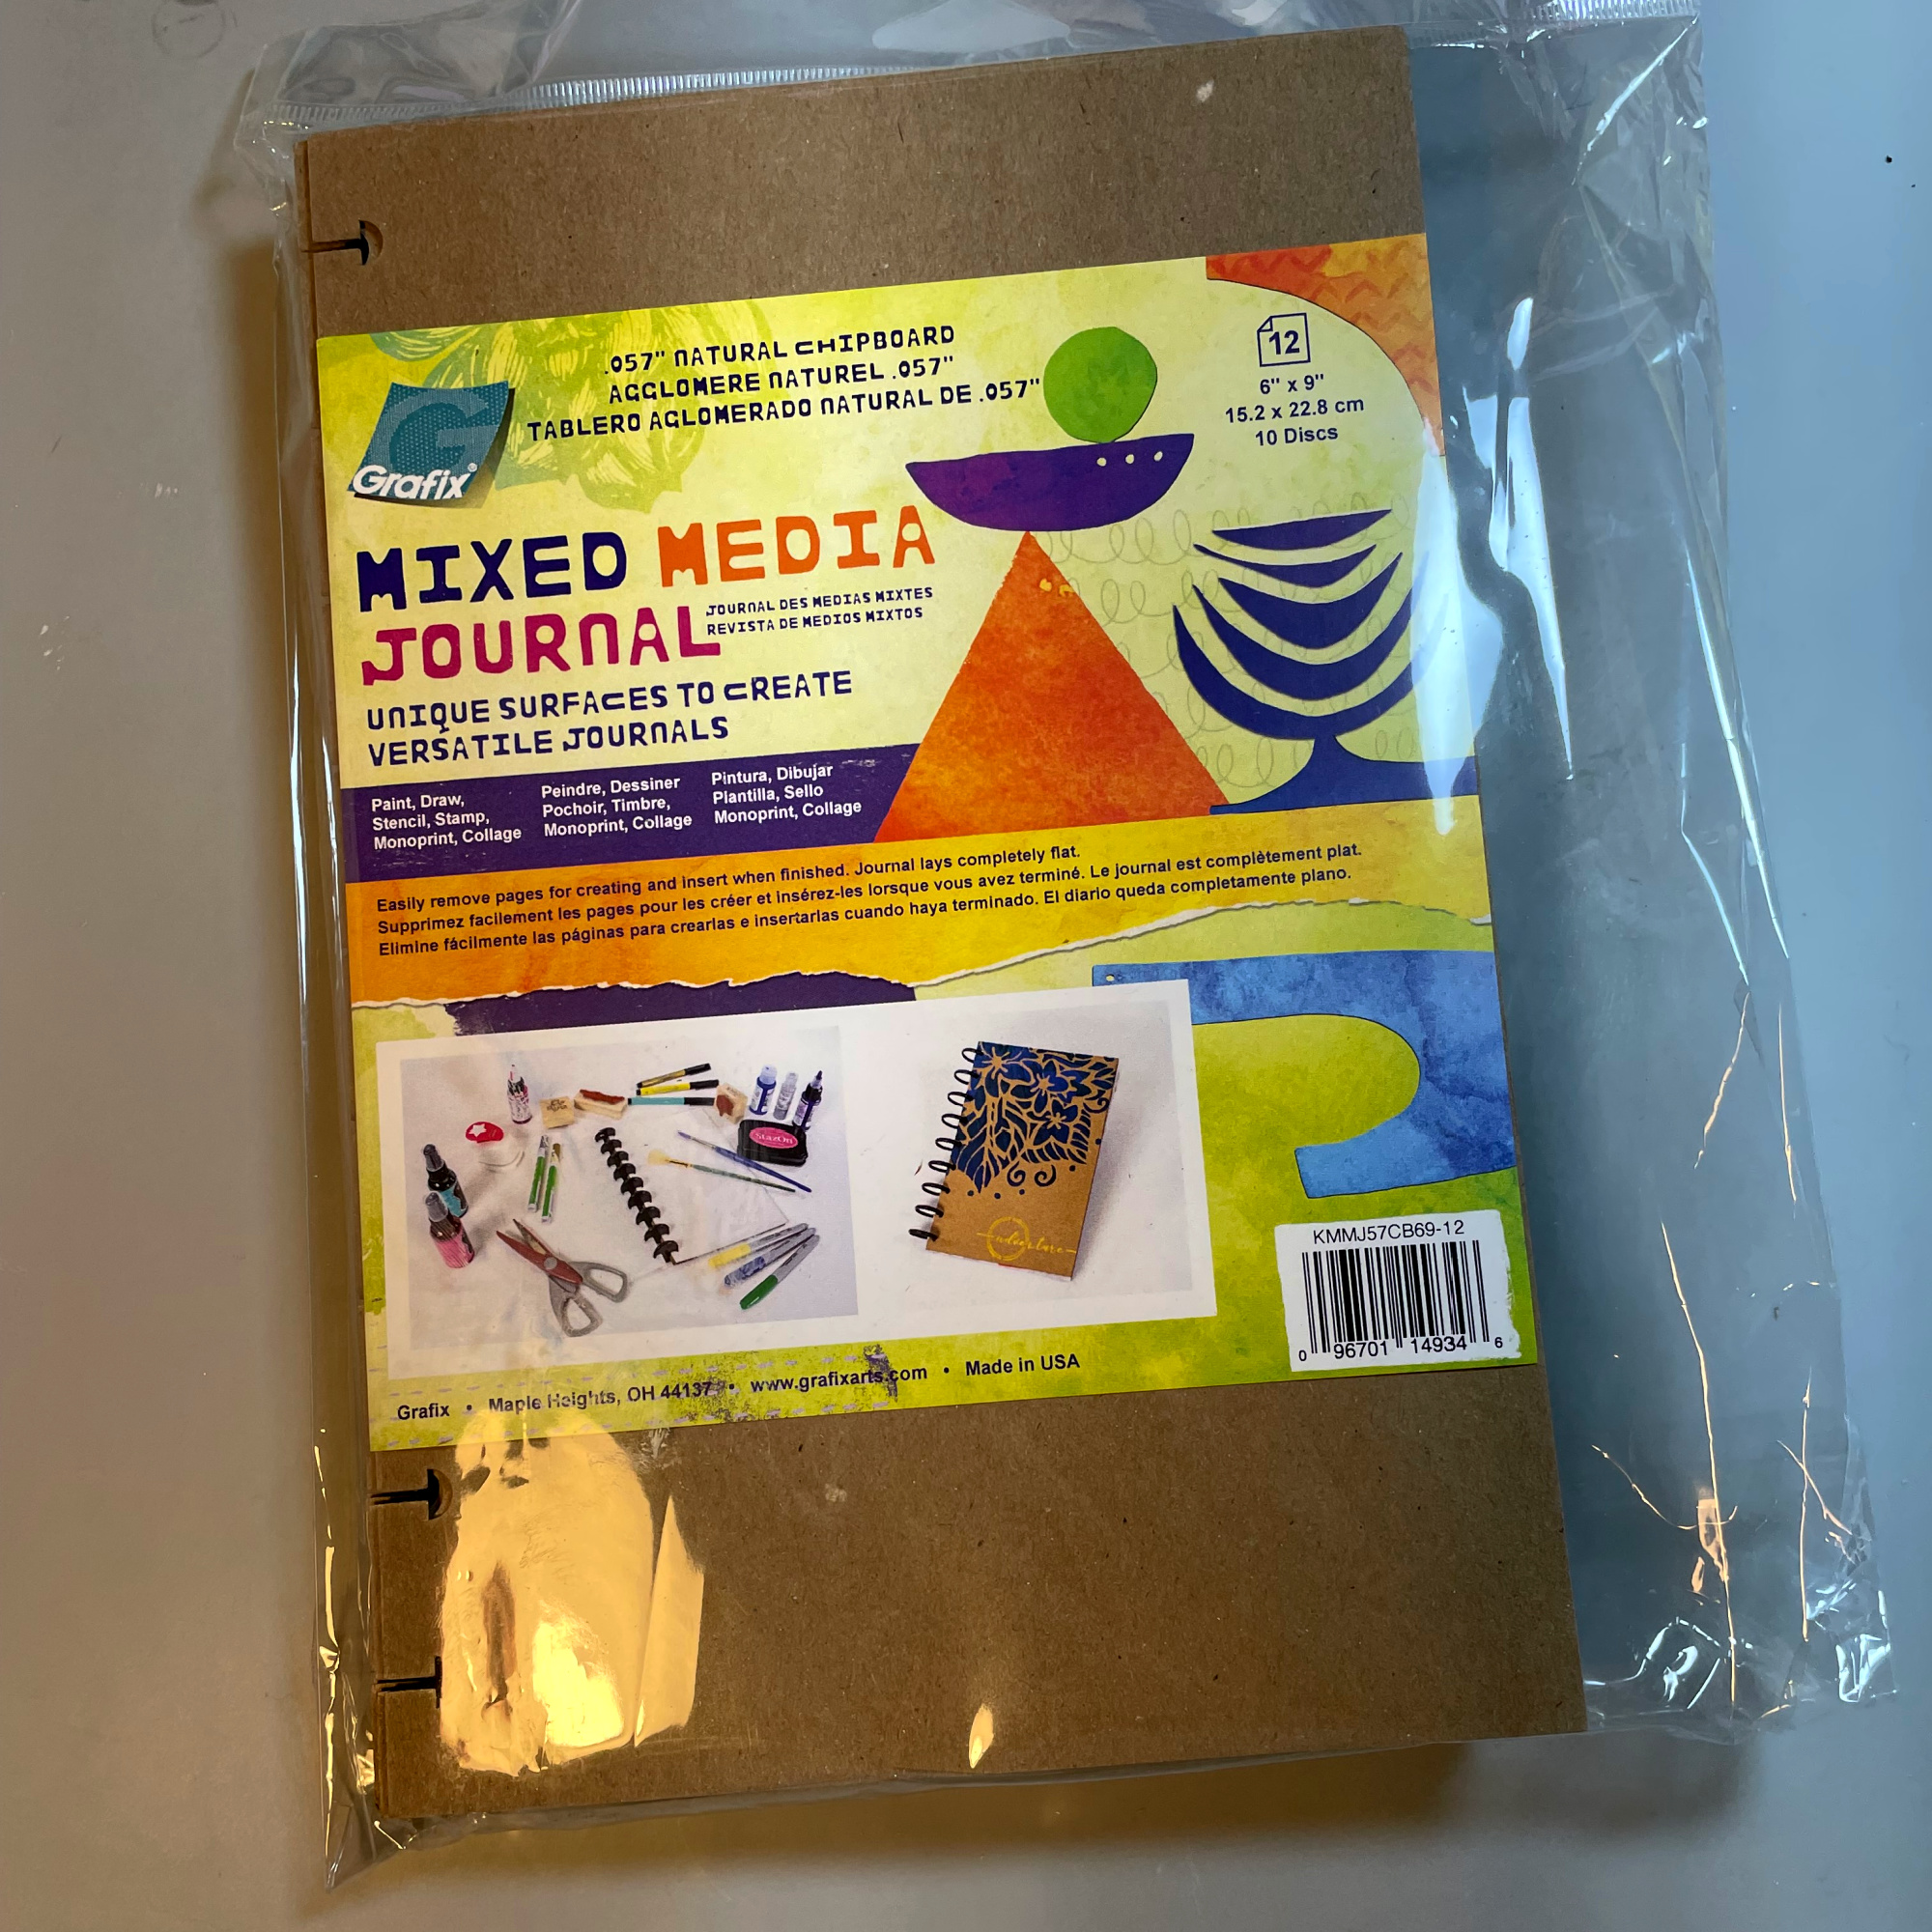
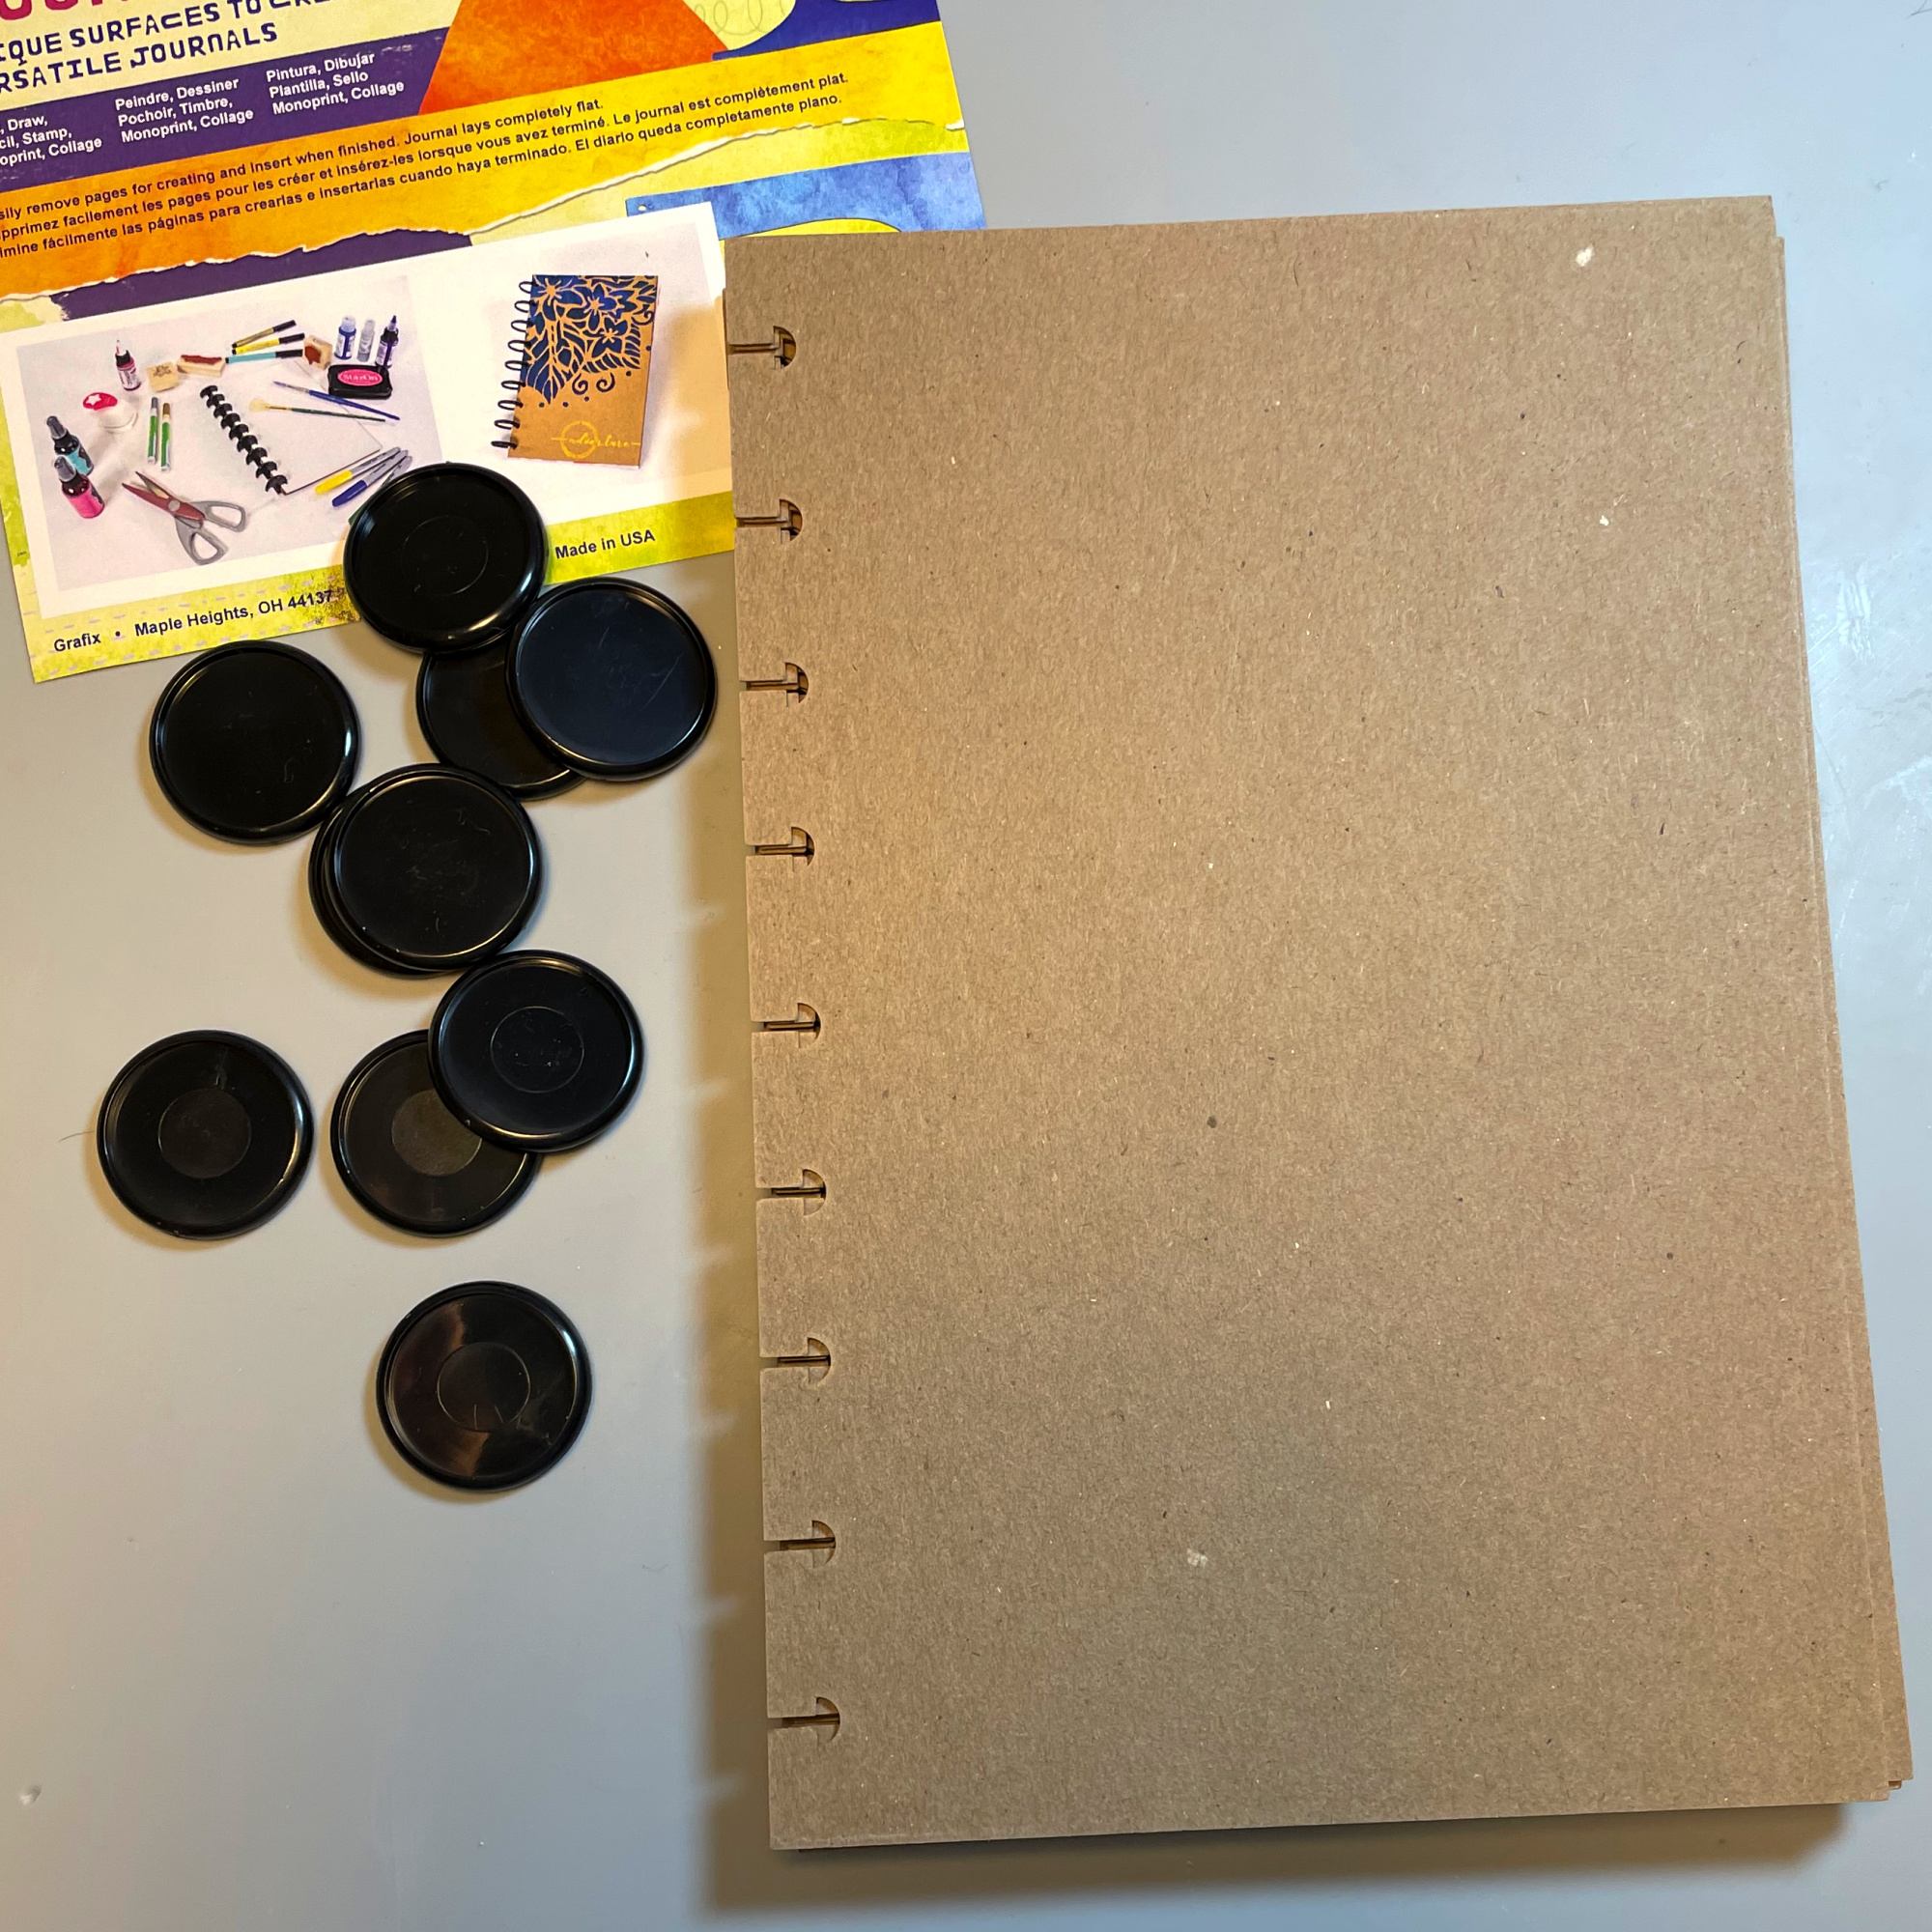
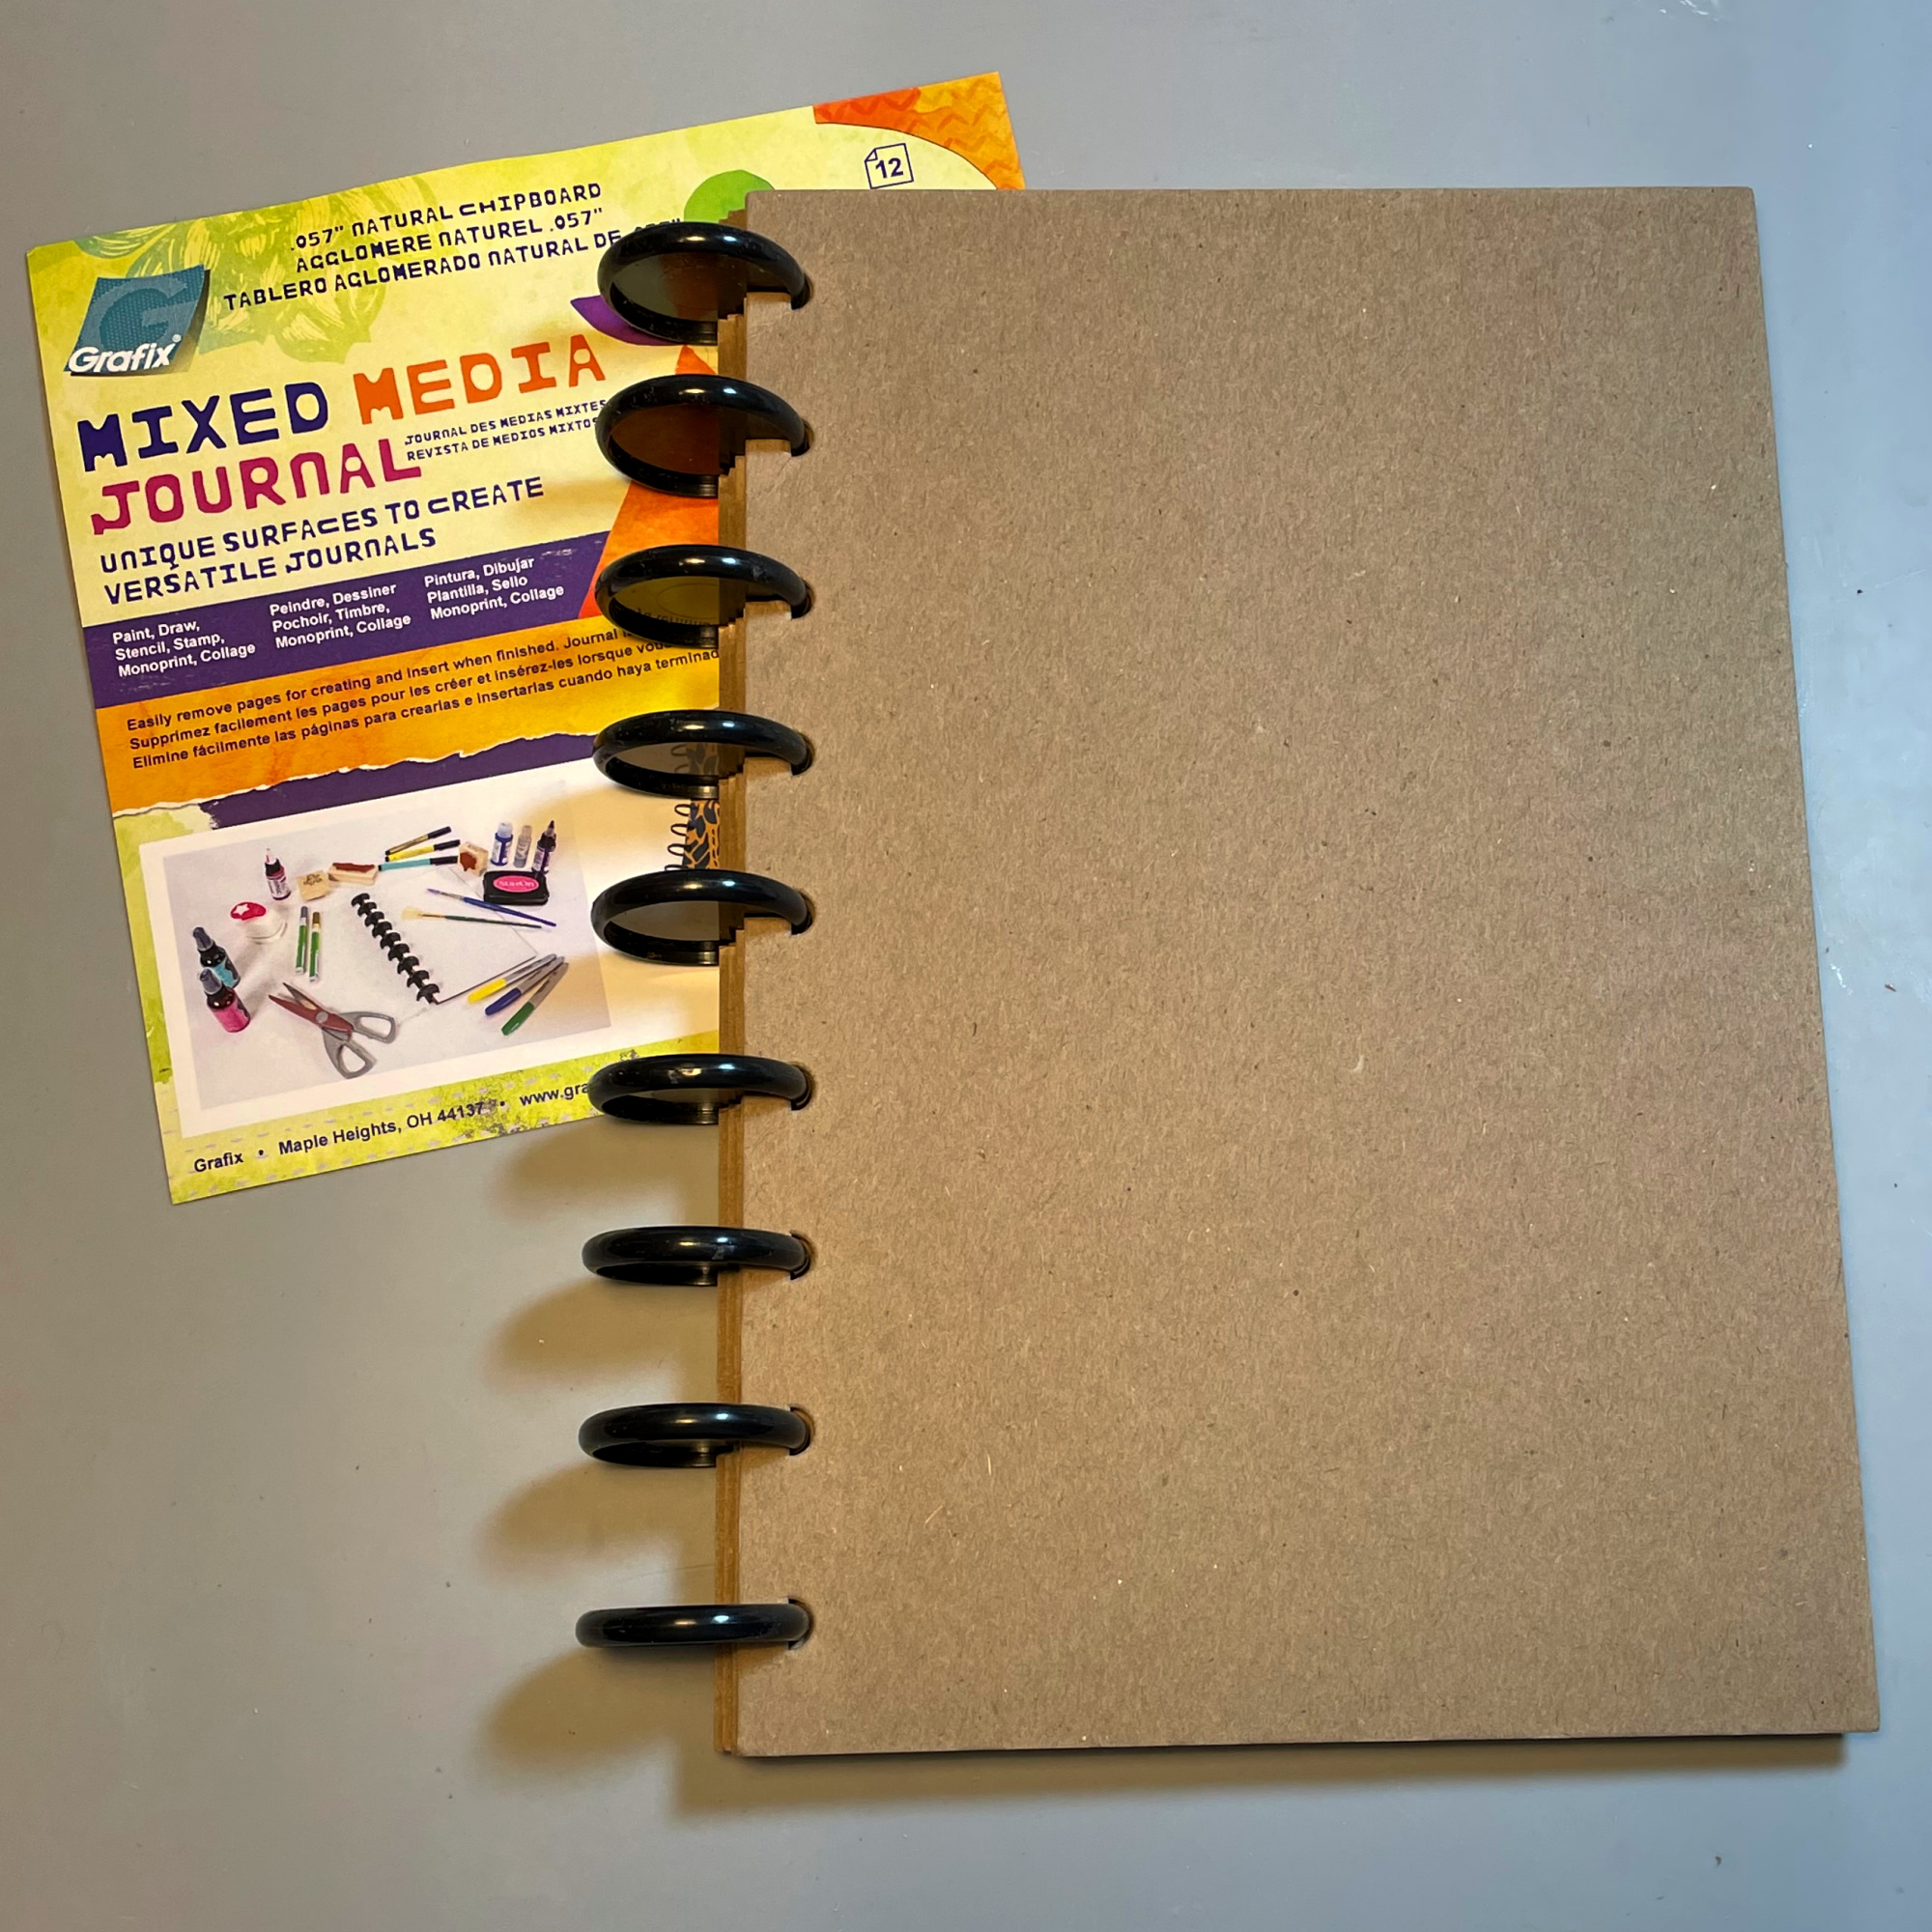
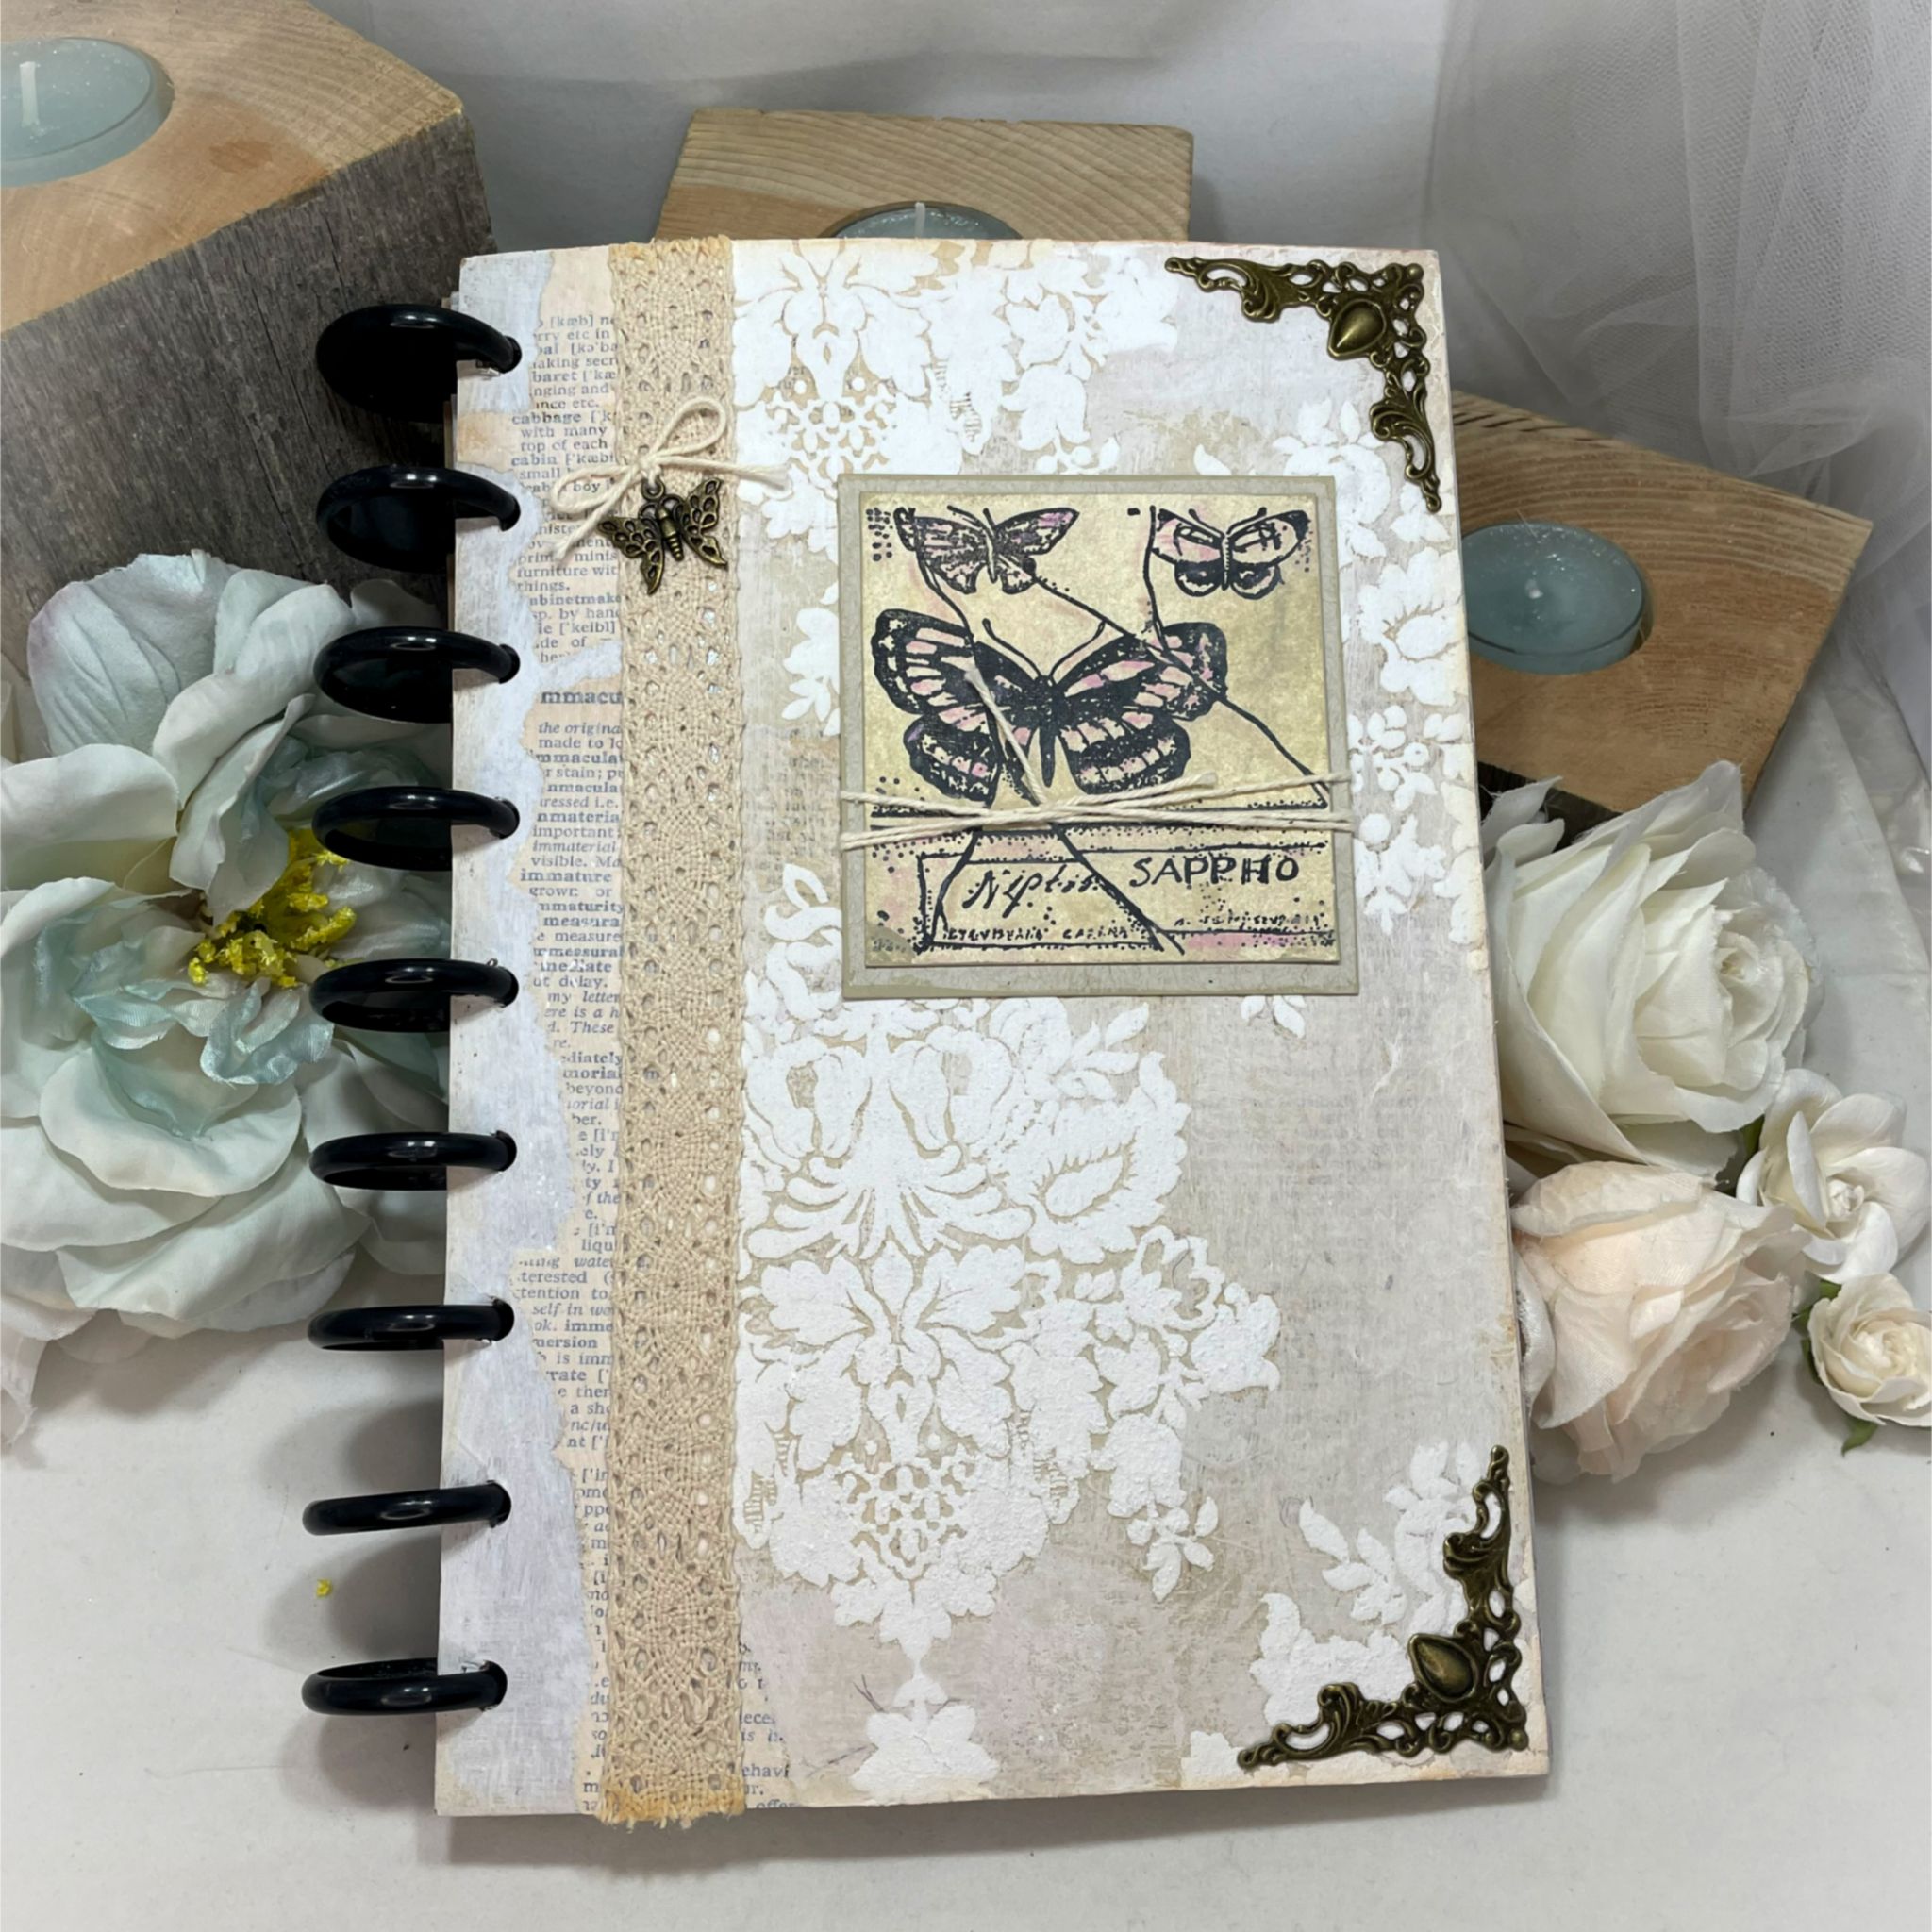
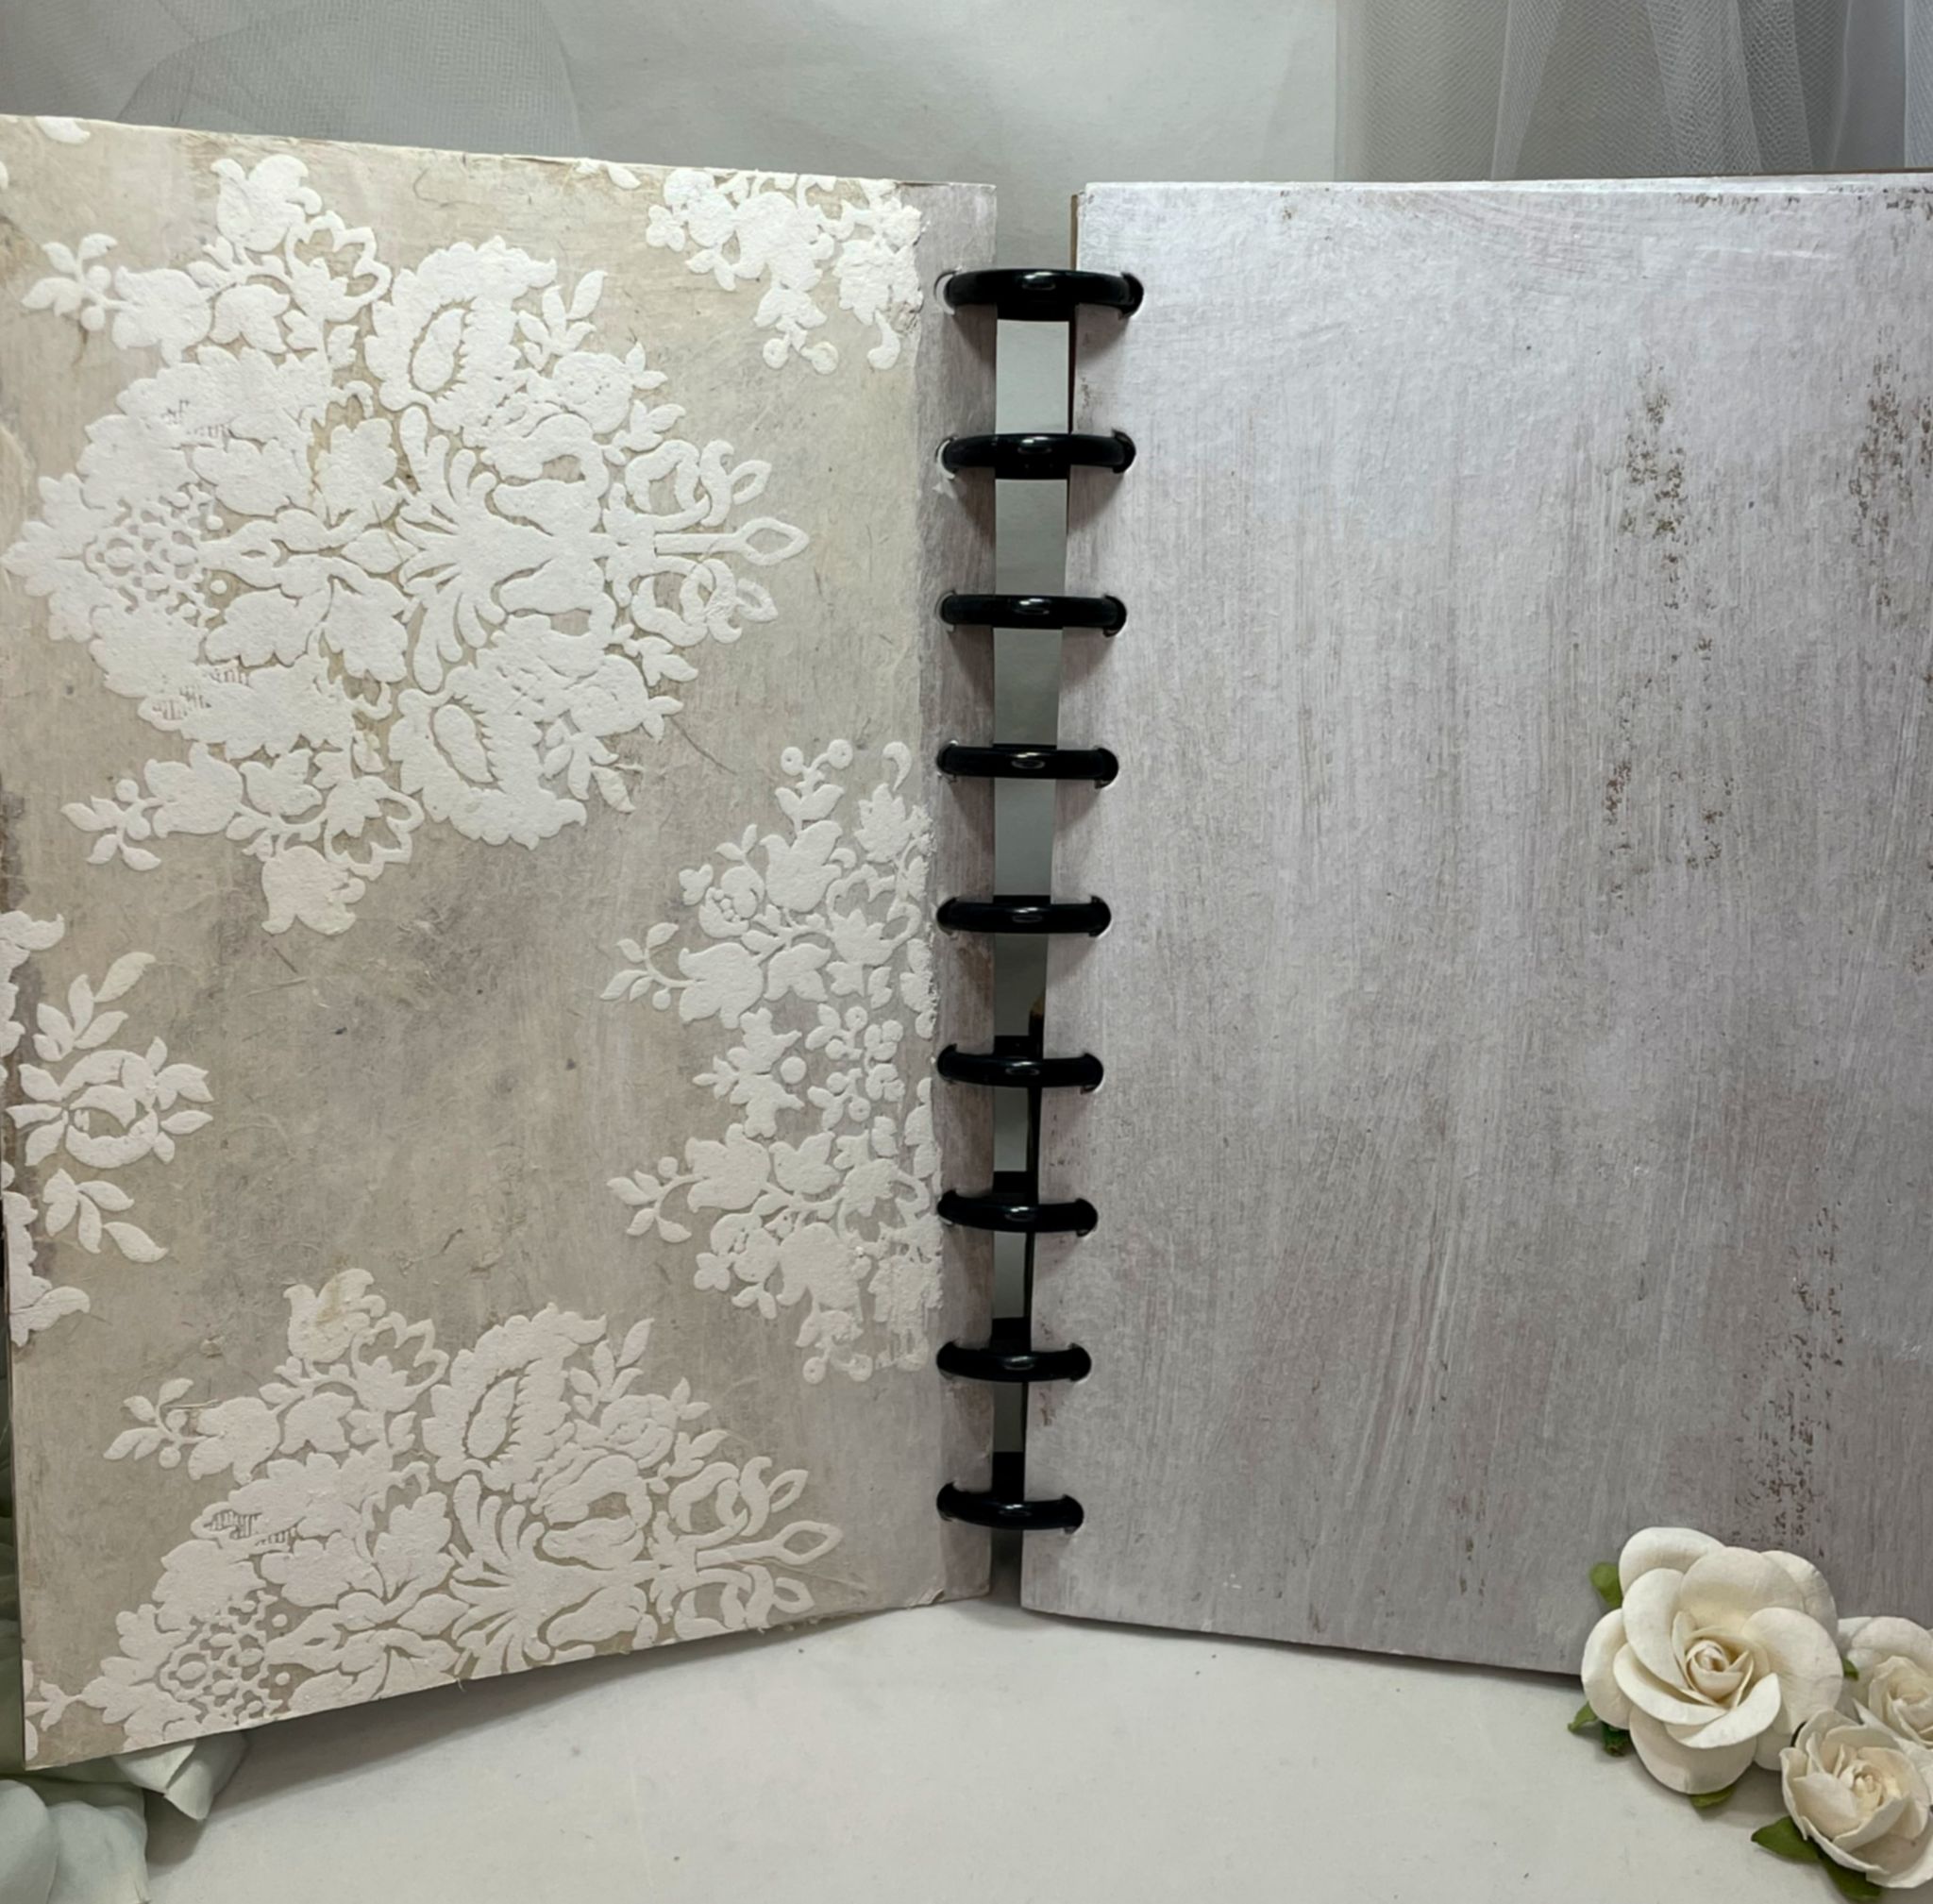
Lori here, with a Vintage Butterfly journal project featuring the Grafix Mixed Media Chipboard Journal. This is a great versatile product with easy to remove pages that hold up to mixed media techniques very well. I love how I can remove a page(s) from this disc bound journal to work on an individual project and then just pop the page back into the journal when finished. Check out the step by step instructions and the Quick Tips Mixed Media Video below for all of the details.
Grafix Products:
Mixed Media Journal – 6” x 9”
Other materials:
DecoArt Americana Premium – White Gesso
Beacon – 3-in-1 glue
Ranger – Tim Holtz Distress Oxide ink – Tea Dye
Vintage dictionary book print
Windsor Newton – Gouache, Permanent White, Magenta, Neutral Grey
Master’s Touch – Gouache, Yellow Ochre
Lami Li Decorative Paper – Venetian Mask
Lost Coast Designs – Carmen Veranda Butterly Square stamp
Vintage Lace Ribbon
DecoArt Dura Clear Ultra Matte Varnish
Ranger – Archival ink, Jet Black
String
Metal corners and charms
Finished journal
Quick Tips Mixed Media Video
I hope you have enjoyed this art journal project featuring the Grafix Mixed Media Journal and will try it out for yourself. I think you will be pleased with its sturdiness and versatility.